Features
Here, some of the main arguments are described that control the behavior of each of the features. These arguments can be specified via command line or when initializing the Cropper class. For further details about how the Cropper class works, please refer to the documentation.
Alignment and Cropping
The main feature is face alignment and cropping. The main arguments that control this feature:
landmarks- if you don’t want automatic landmark prediction and already have face landmark coordinates in a separate file, you can specify the path to it. See the table below for the expected file formats.File format
Description
.jsonExpects a dictionary with the following example entries:
'image.jpg': [x1, y1, ...]. I.e., keys are image file names and values are flattened arrays of face landmark coordinates..csvExpects comma-separated values of where each line is of the form
image.jpg,x1,y1,.... Note that it also expects the first line to be a header..txtand otherSimilar to CSV file, but each line is expected to have space-separated values of the form
image.jpg x1 y1 .... No header is expected.output_size- the output size of the cropped face images. Can be either a tuple of 2 values (weight, height) or a single value indicating square dimensions200 × 200
300 × 300
300 × 200
200 × 300

face_factor- the fraction of the face area relative to the output image. The value is between 0 and 1 and, the larger the value, the larger the face is in the output image.0.4
0.55
0.7
0.85
padding- the type of padding (border mode) to apply after cropping the images. If faces are near edges, the empty areas after aligning those faces will be filled with some values. This could be constant (leave black), replicate (repeat the last value of the edge in the original image), reflect (mirror the values before the edge).Constant
Replicate
Reflect
Wrap
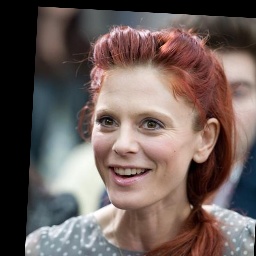

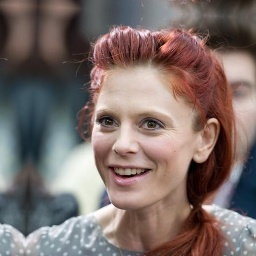
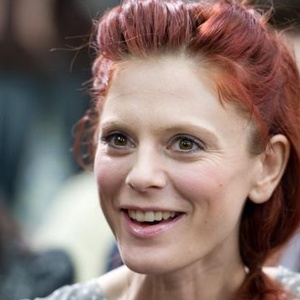
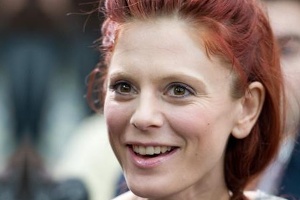
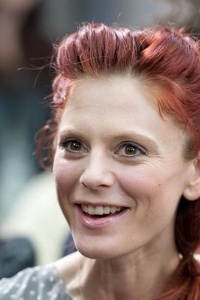
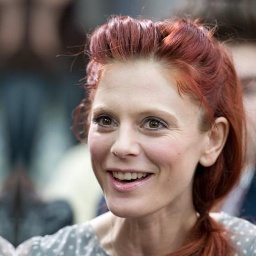
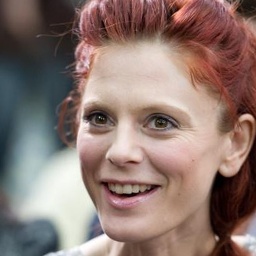
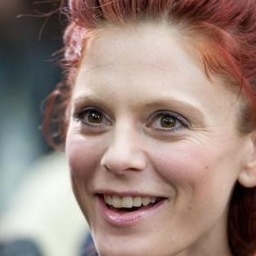
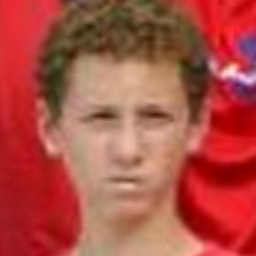
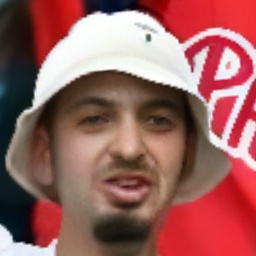
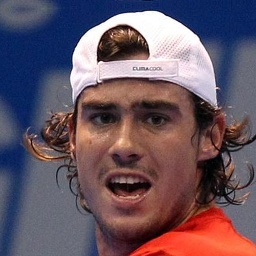
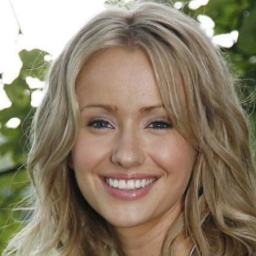
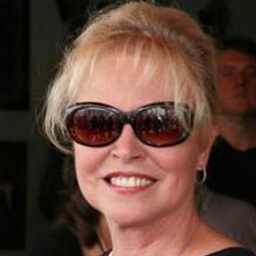
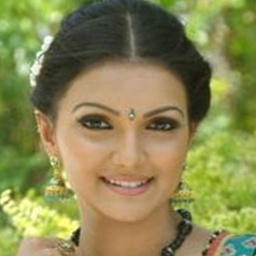
det_threshold- if automatic detection is desired, then detection threshold, which is a value between 0 and 1, can be specified to indicate when the detected face should be considered an actual face. Lower values allow more faces to be extracted, however they can be blurry and not non-primary, e.g., the ones in the background. Higher values only alow clear faces to be considered. It only makes sense to play around with this parameter whenstrategyis specified to return more than one face, e.g., all. For example, if it is0.999, the blurry face in the background in the examples above is not detected, however if the threshold0.998, the face is still detected. For blurrier images, thresholds may differ.strategy- the strategy to apply for cropping out images. This can be set to all, if all faces should be extracted from each image (suffixes will be added to each file name), largest, if only the largest faces should be considered (slowest), best if only the first face (which has the best confidence score) per image should be considered.
Quality Enhancement
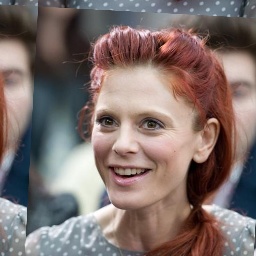
Quality enhancement feature allows to restore blurry faces. It has one main argument:
enh_threshold- quality enhancement threshold that tells when the image quality should be enhanced. It is the minimum average face factor, i.e., face area relative to the image, below which the whole image is enhanced. Note that quality enhancement is an expensive operation, thus set this to a low value, like0.01to only enhance images where faces are actually small. If your images are of reasonable quality and don’t contain many tiny faces, you may want to set this toNone(or to a negative value if using command-line) to disable the model. Here are some of the examples of the extracted faces before and after enhancing the image:


Note
Quality enhancement can be used as a separate feature to enhance images that contain faces. For an end user, it is a useful feature to boost the quality of photos. It is not suggested to enhance ultra high resolution images (>2000) because your GPU will explode. See Cleaning File Names section on how to run it as a stand-alone.
Attribute Parsing
Face parsing to attributes allows to group output images by category and generate attribute masks for that category. Categorized images are put to their corresponding sub-folders in the output directory.
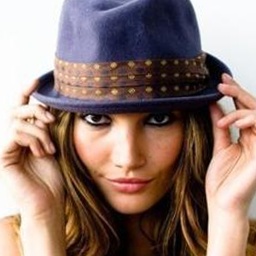
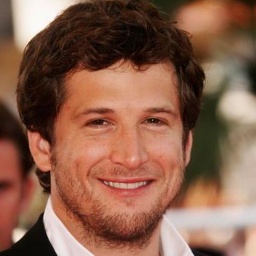
attr_groups- dictionary specifying attribute groups, based on which the face images should be grouped. Each key represents an attribute group name, e.g., glasses, earings and necklace, no accessories, and each value represents attribute indices, e.g.,[6],[9, 15],[-6, -9, -15, -18], each index mapping to some attribute. Since this model labels face image pixels, if there is enough pixels with the specified values in the list, the whole face image will be put into that attribute category. For negative values, it will be checked that the labeled face image does not contain those (absolute) values. If it is None, then there will be no grouping according to attributes. Here are some group examples with 2 sample images per group:Glasses
[6]Earrings and necklace
[9, 15]Hats, no glasses
[18, -6]No accessories
[-6, -9, -15, -18]
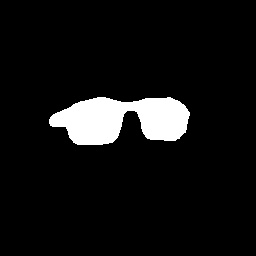
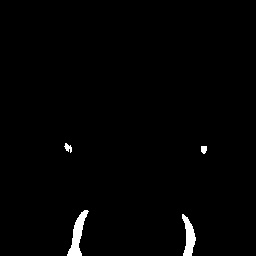
mask_groups- Dictionary specifying mask groups, based on which the face images and their masks should be grouped. Each key represents a mask group name, e.g., nose, eyes and eyebrows, and each value represents attribute indices, e.g.,[10],[2, 3, 4, 5], each index mapping to some attribute. Since this model labels face image pixels, a mask will be created with 255 (white) at pixels that match the specified attributes and zeros (black) elsewhere. Note that negative values would make no sense here and having them would cause an error. Images are saved to sub-directories named by the mask group and masks are saved to sub-directories under the same name, except with _mask suffix. If it is None, then there will be no grouping according to mask groups. Here are some group examples with 1 sample image and its mask per group (for consistency, same images as before):Glasses
[6]Earrings and necklace
[9, 15]Nose
[10]Eyes and Eyebrows
[2, 3, 4, 5]

Note
If both attr_groups and mask_groups are specified, first images are grouped according to face attributes, then images in each groups are further sub-grouped to different mask groups (along with their masks).
Here are the 19 possible face attributes (with 0 representing the neutral category):
|
|
|
|
|
|
|
|
|
|
|
|
|
|
|
|
|
|